Your cart is currently empty!
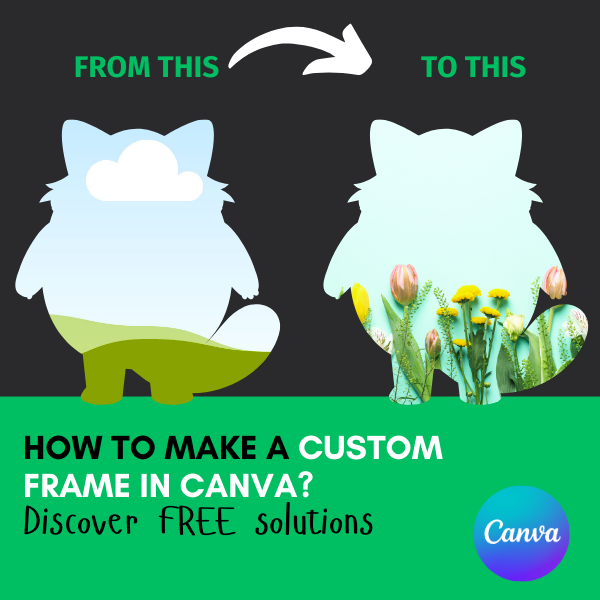
Do you want to make a custom photo frame for Canva for FREE?
You’re in the right place! Let’s make a custom frame in Canva together. Just follow these simple steps to create your own frame easily.
1.Solution: Use the Canva App
In the Apps section, search for an application called “Frame Maker.”
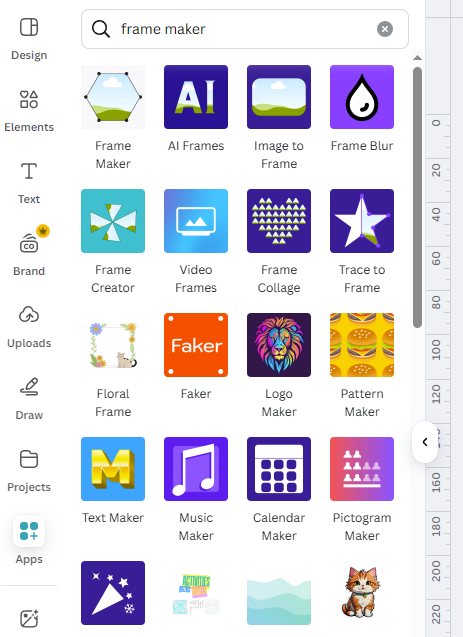
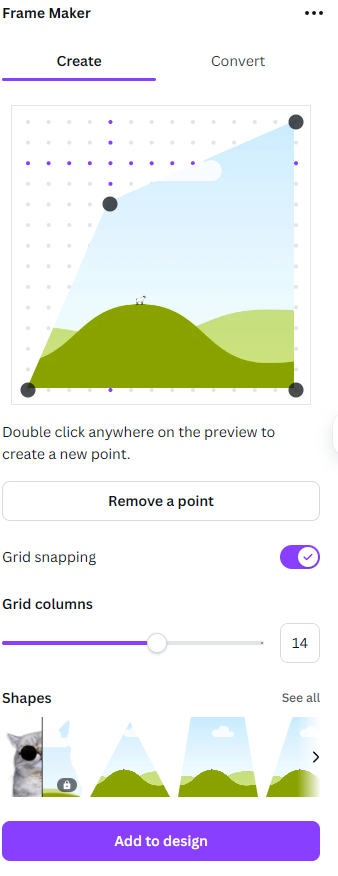
Click on the first app called “Frame Maker” if you want to create a simple-shaped frame. Double-click the purple dots to adjust the shape. Click the “Remove a Point” button to delete a point.
Once you’re happy with your frame, click the “Add to Design” button.
In this app, converting an image into a shape requires the Pro version, but there are other free alternatives available!
You can also try other applications, such as “AI Frames,” which generates frames based on your prompt. Keep in mind that some of these apps have a limited number of uses.
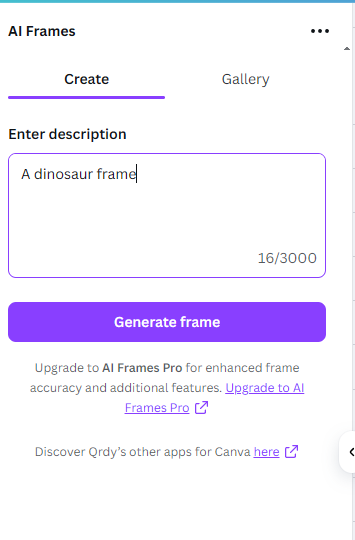
Write your prompt in the text field and click the “Generate Frame” button.
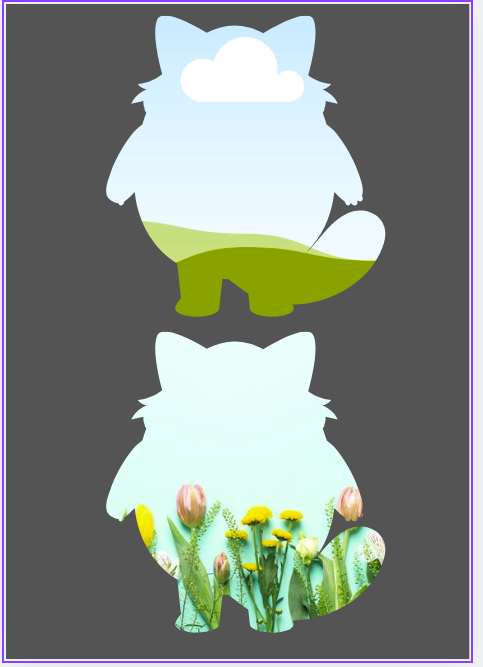
Here is the frame we got:
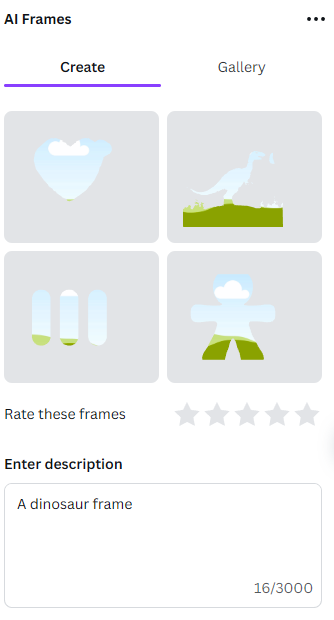
These frames are not very accurate because a paid version of the app is required for better precision
2. Solution: Use free Photoshop online like-tool – Photopea
This method offers the most flexibility for creating custom frames in Canva by using the free tool Photopea.
- Open Photopea – Go to photopea.com and create a new project (e.g., 2000x2000px).
- Download an Illustration – Find an image you want to convert into a frame in .SVG format. Websites like Freepik.com offer many options.
- Import into Photopea – Once your illustration is downloaded, open Photopea. Click File → Open & Place, then select the .SVG file you just downloaded.
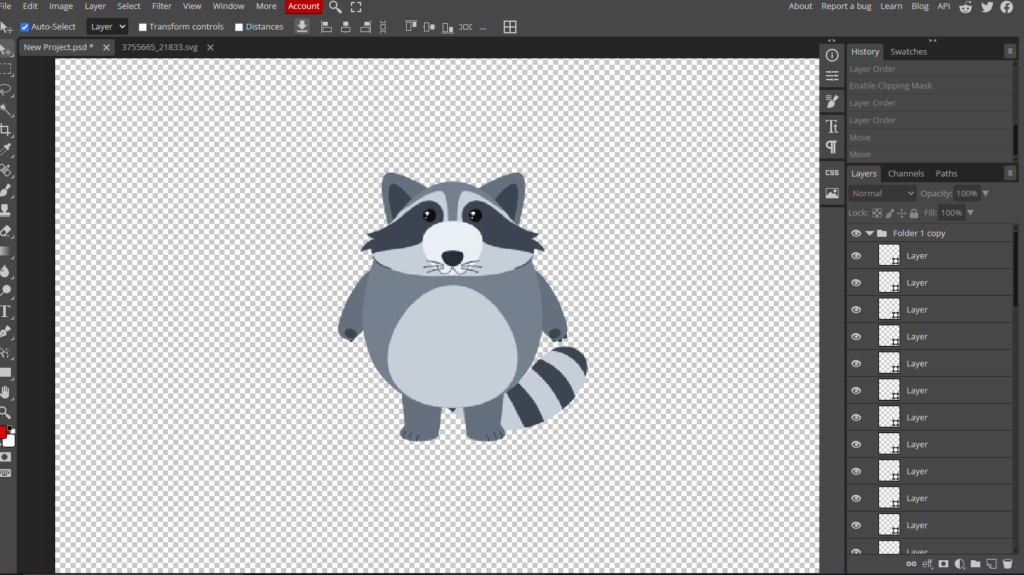
4.If your design has multiple layers, select the entire illustration (click and drag to select it) and go to:
Layer → Combine Shapes → Unite
Now, you have a single shape that can be filled with an image, making it suitable as a custom frame for Canva.
To fill the shape with an image:
Go to File → Open & Place and select an image.
Alternatively, you can simply copy and paste the image into your Photopea project.
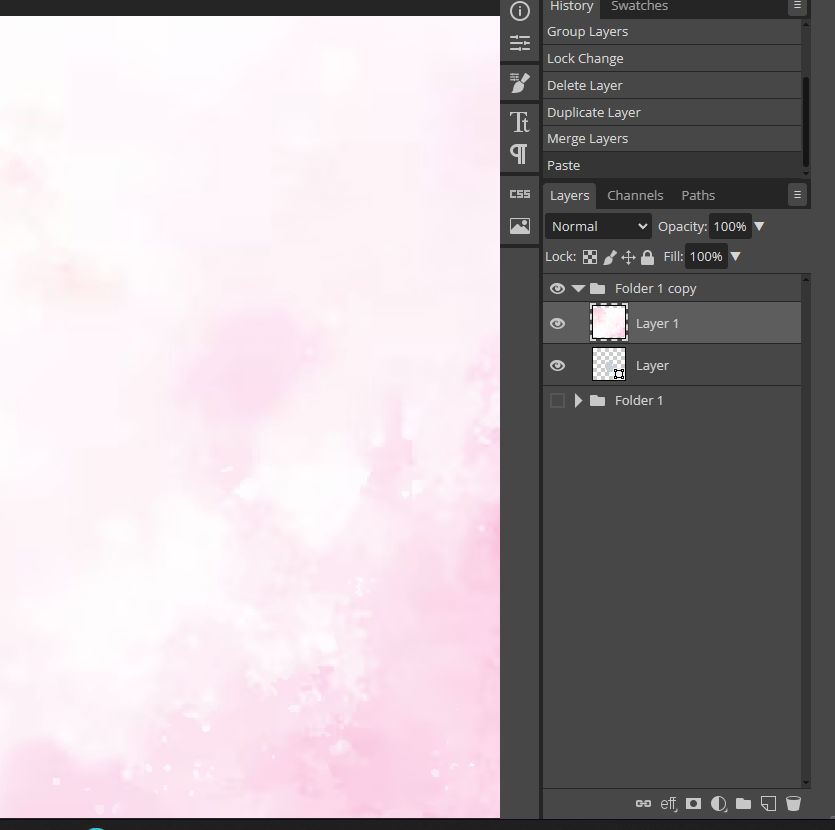
5. Once your photo is pasted into the project, right-click the image layer (e.g., Layer 1) and select “Clipping Mask”.
6. Now, save your design as a .PSD project and import it into Canva. And that’s it! 🙂
Creating custom photo frames for Canva can enhance your designs and give them a personal touch. Whether you choose to use the Frame Maker app, explore AI Frames for unique designs, or leverage the flexibility of Photopea, each method offers its own advantages.
Feel free to experiment with these solutions and find the one that best suits your needs.
Please let me know in the comments which solution you prefer for creating your custom photo frames!
Leave a Reply