Are you looking to add a touch of style to your designs in Canva? Adding a border can be a simple yet effective way to make your graphics stand out. Whether you’re creating social media posts, invitations, or flyers, Canva makes it easy to add borders to your designs. In this guide, I’ll walk you through the steps to add a border in Canva, so you can elevate your designs in no time.
Method #1 – Create a border with a rectangle shape in Canva
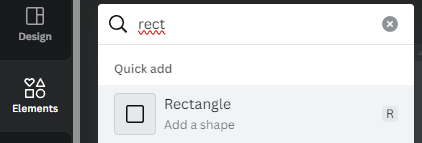
In the Elements section search for a rectangle shape, or use a shortcut and click a letter R on your keyboard to quickly add a rectangle

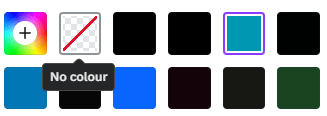
Place the rectangle on the top of your text or element. In the top toolbar select colour.

Then choose the Transparent Color as a filling of the rectangle.

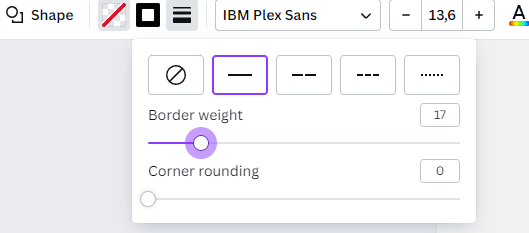
Now click the the “3 lines” icon to create a rectangle border. Choose the border weight you want to create and its style. You can also make the border round, through Corner Rounding option.

To align two elements (rectangle and text) select these two elements, and go to Position in the top toolbar.
Now in the Arrange tab click Middle and Center if those are available to align two elements.

Voila it was the 1st Method on how to create a Border in Canva.
Method #2 Use Canva Elements
In the Elements search for Frame or Border element, Now choose the border frame that suits your design, simple as that! 🙂
Method #3 Add Border to the Text
To add a border to the text you need to Select your text. And in the top ToolBar select option EFFECTS

Now choose the “OUTLINE” option to add a border to the text. Or choose an option “Splice” to create more artistic Border effect.
The 1st text has an Outline effect and the 2nd Splice effect.

I hope you found these methods useful, do not hesitate to share your experience in the comment section.
Have a good designing!
Karolina


Leave a Reply